

Guide to ice skating
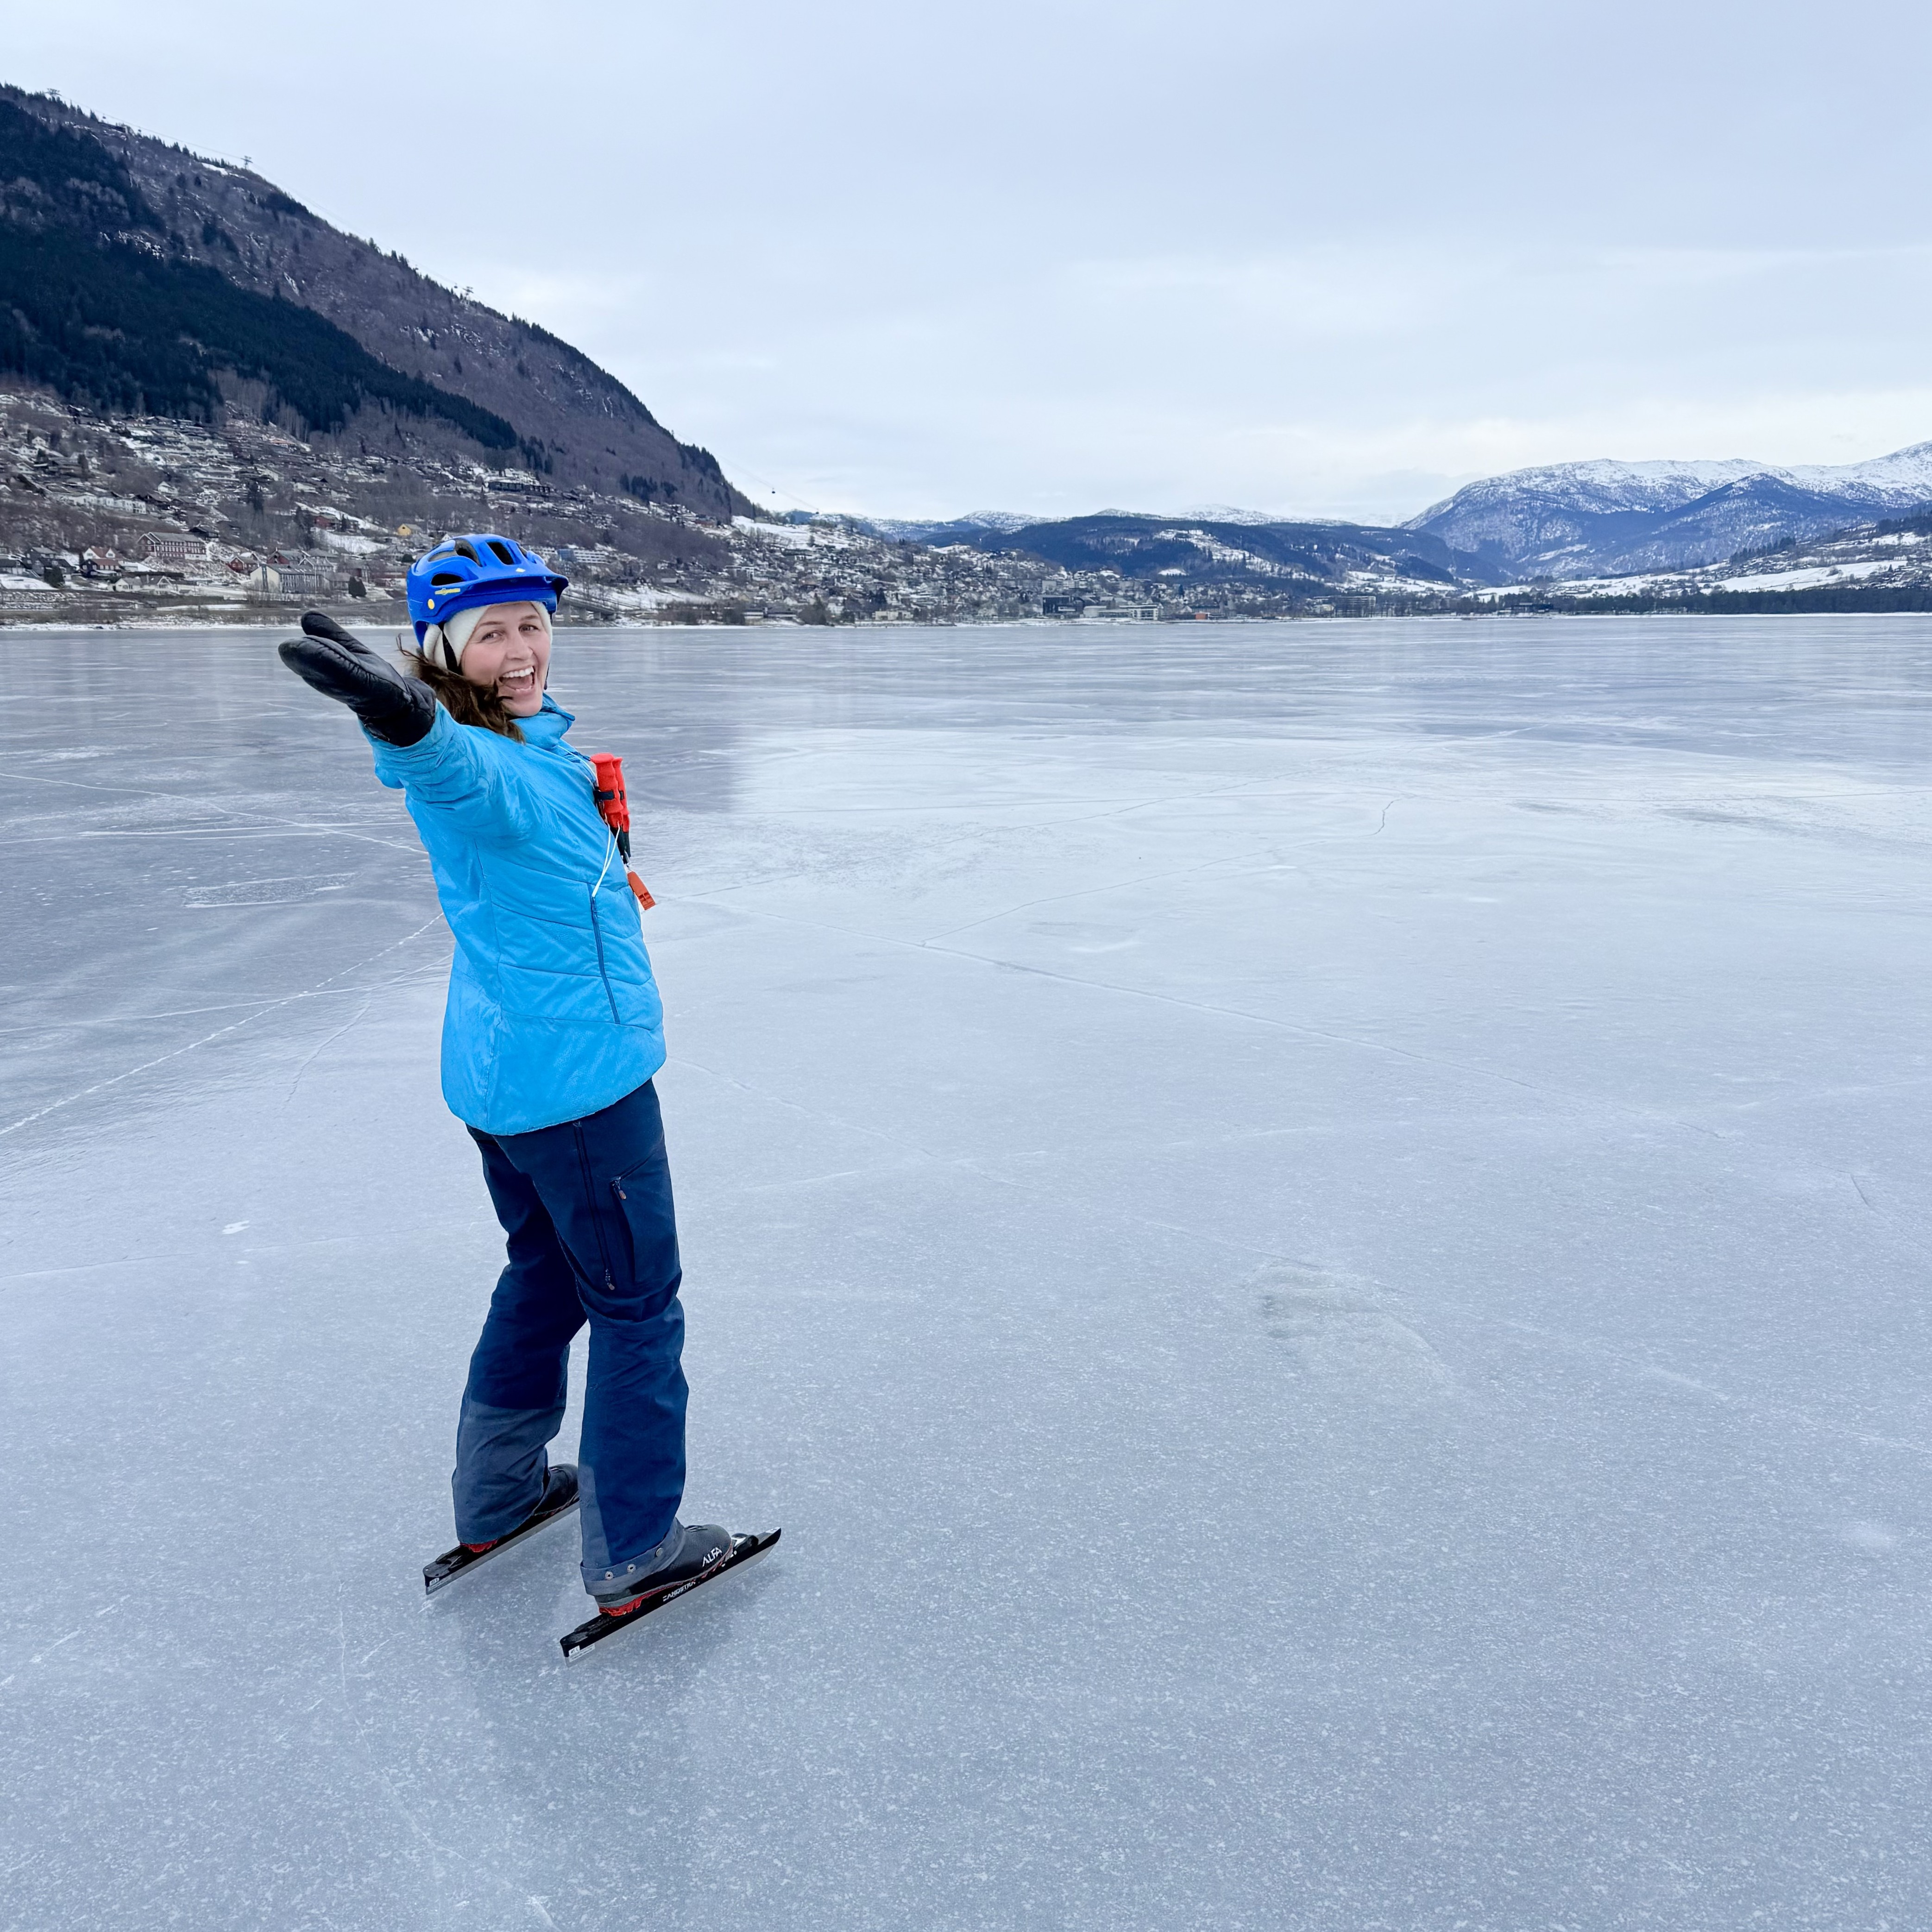
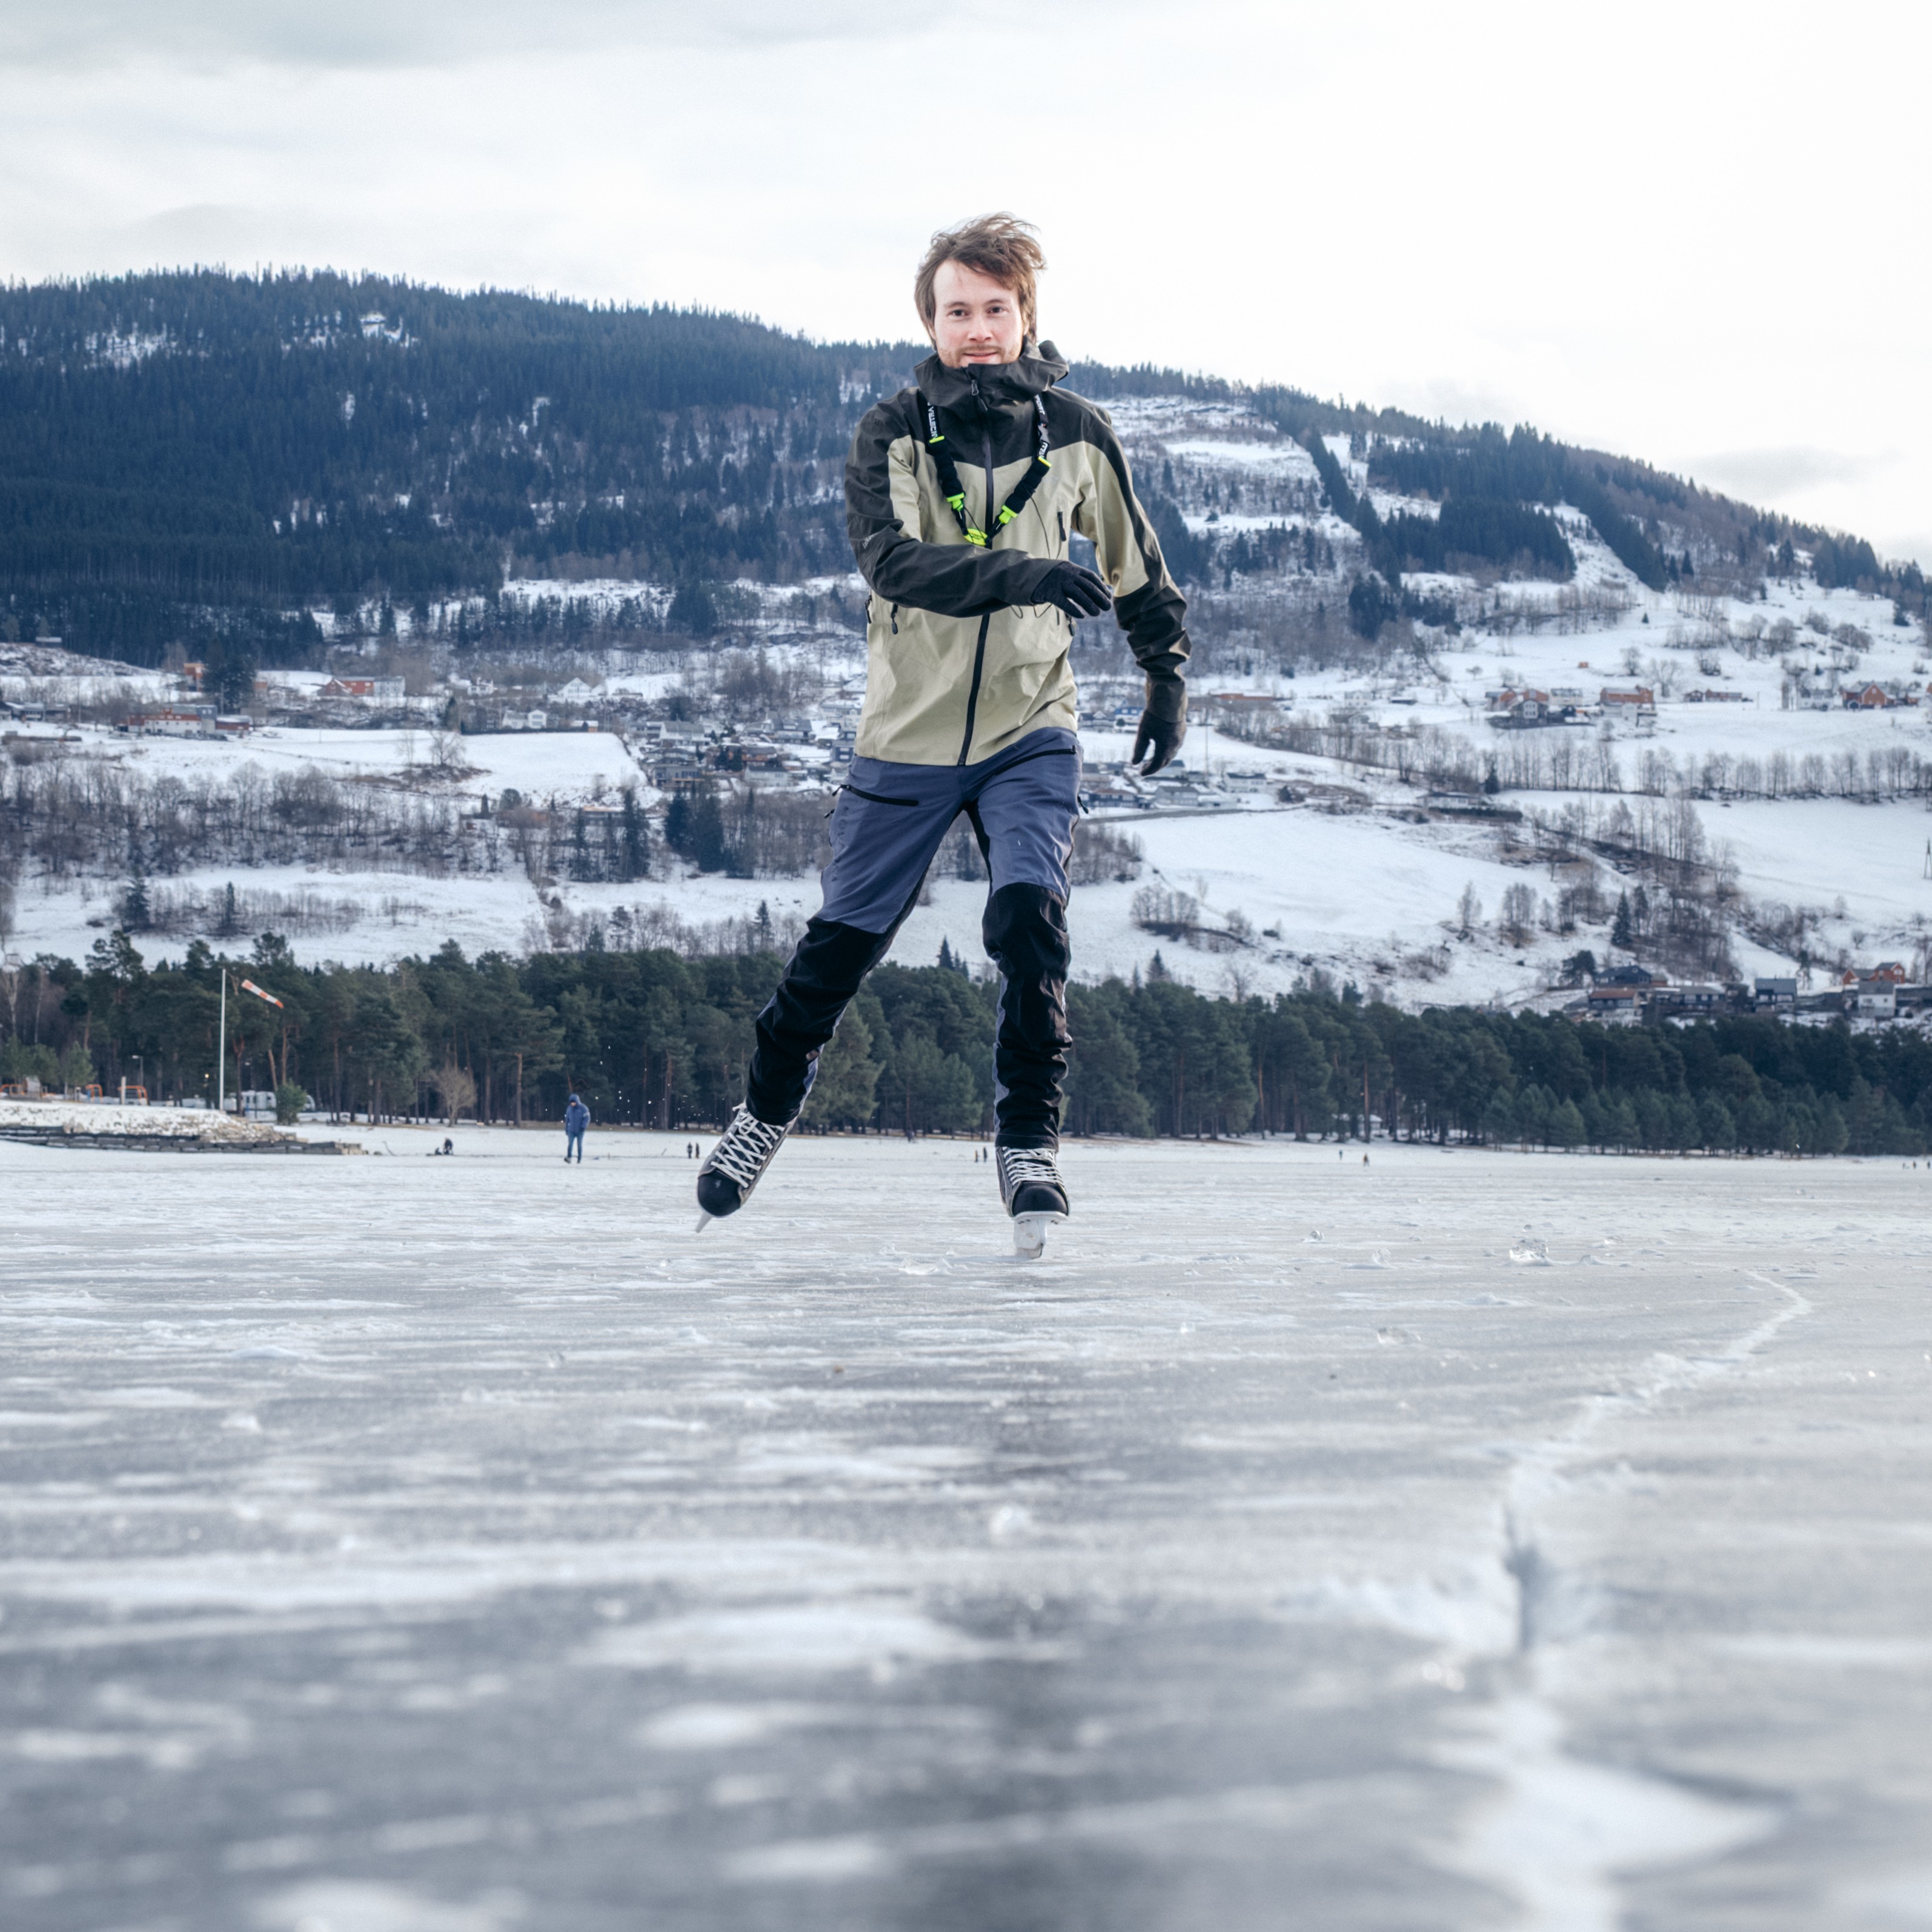
The joy of being out in nature is immense. The feeling of freedom as you glide across the ice, make the first ski-tracks on a mountain, or skate just behind the groomer on a cross-country trail. We need to explore the opportunities nature gives us, and week after week of freezing temperatures creates excellent conditions for skating.
Skating is a wonderful way to experience winter. You can cover long distances in a short time, stay active, and explore familiar areas from completely new perspectives.
This guide has been developed together with Olav Bjelland Brekke, a trip leader and board member of DNT Young Adults (Voss Utferdslag). In this guide, you’ll find practical advice, safety tips, equipment recommendations, and concrete guidance on how to get started with skating.
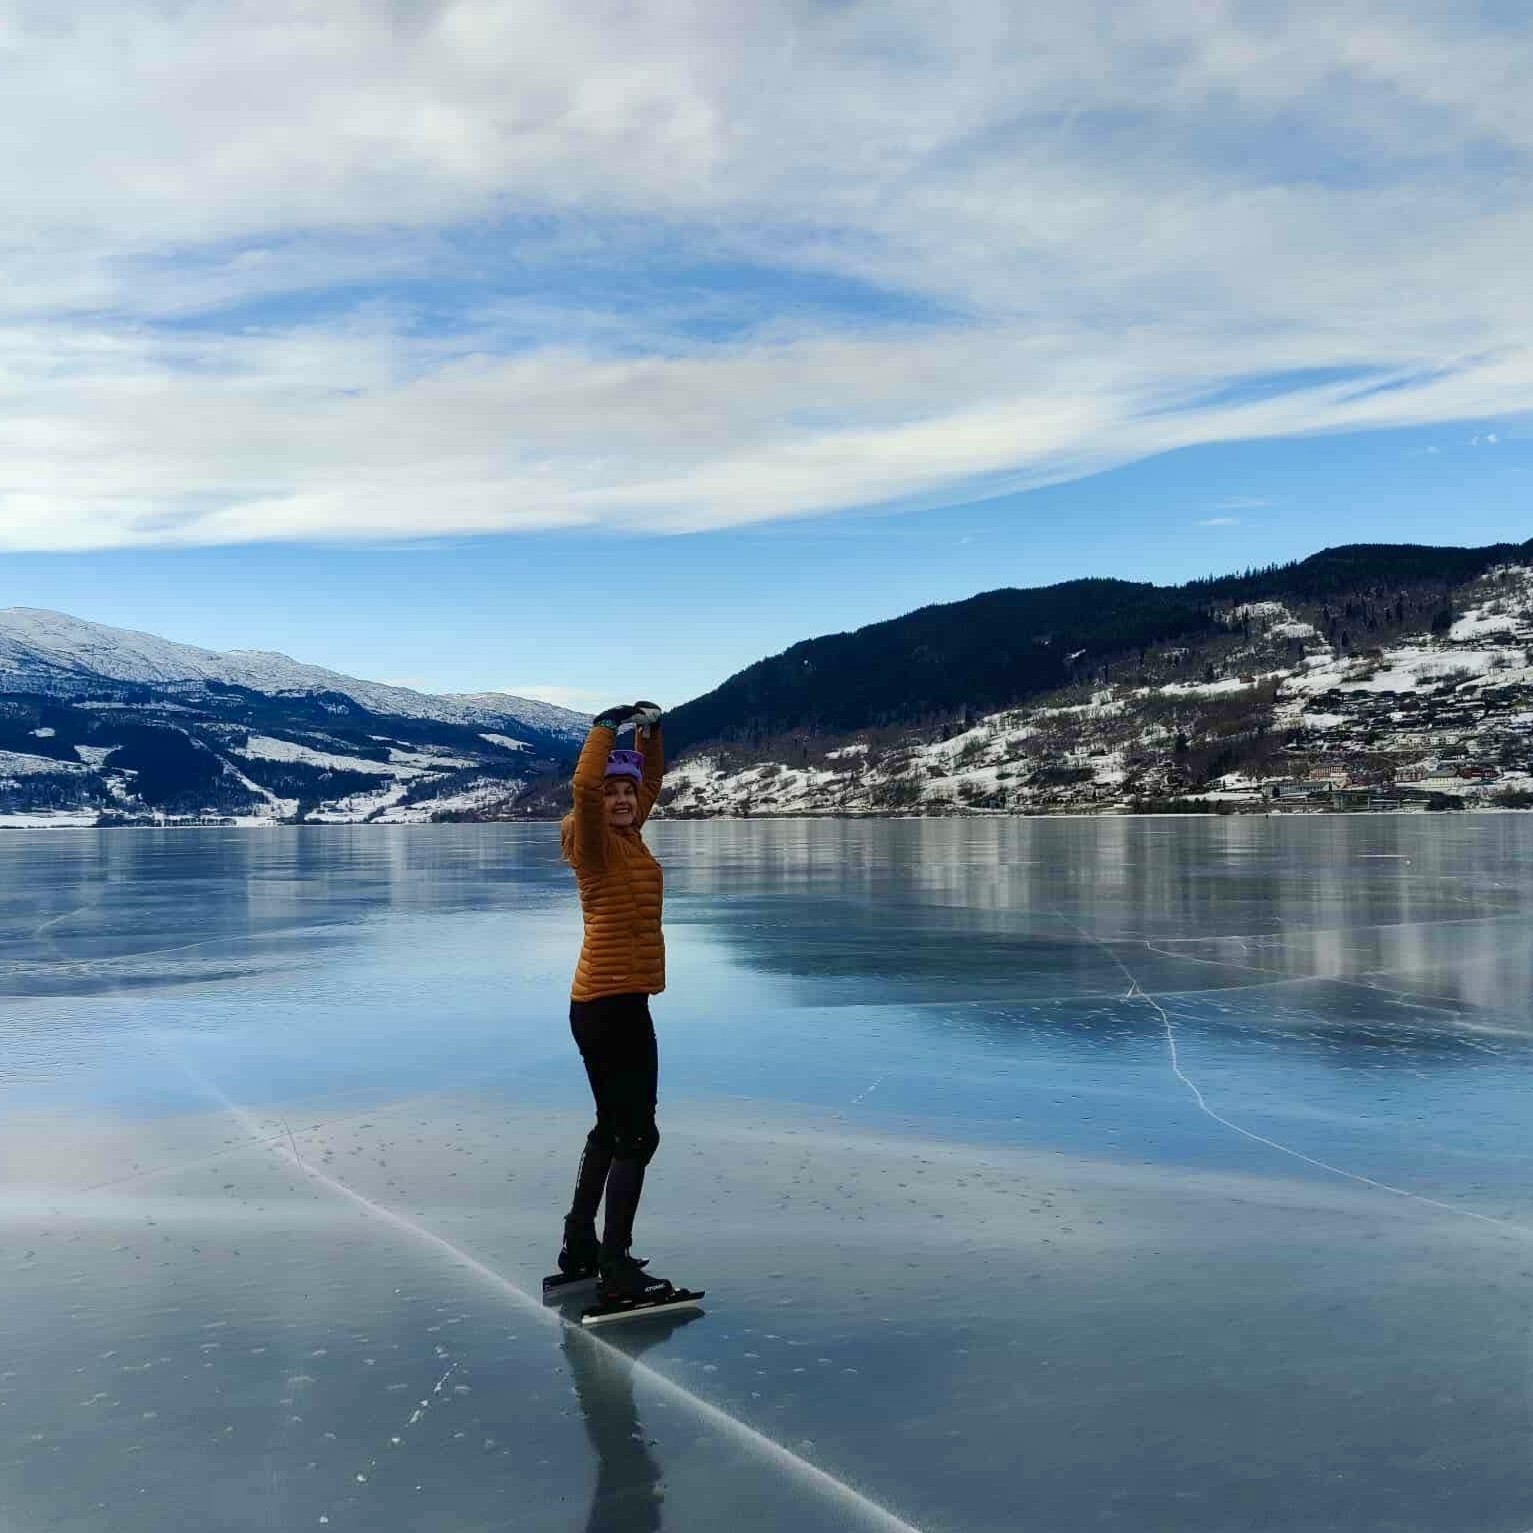
Who is skating for?
Everyone! You don’t need to be very fit, and there are many aids for beginners (such as poles, a crate for support, or skating alongside someone more experienced). Skating is great balance training and can be done at your own pace, from short family outings to longer expeditions.
Skating is also very social, as it’s easy to go together with others. Meeting people on the ice is a bit like meeting people in the mountains (in Norway), feel free to say hello and have a chat.
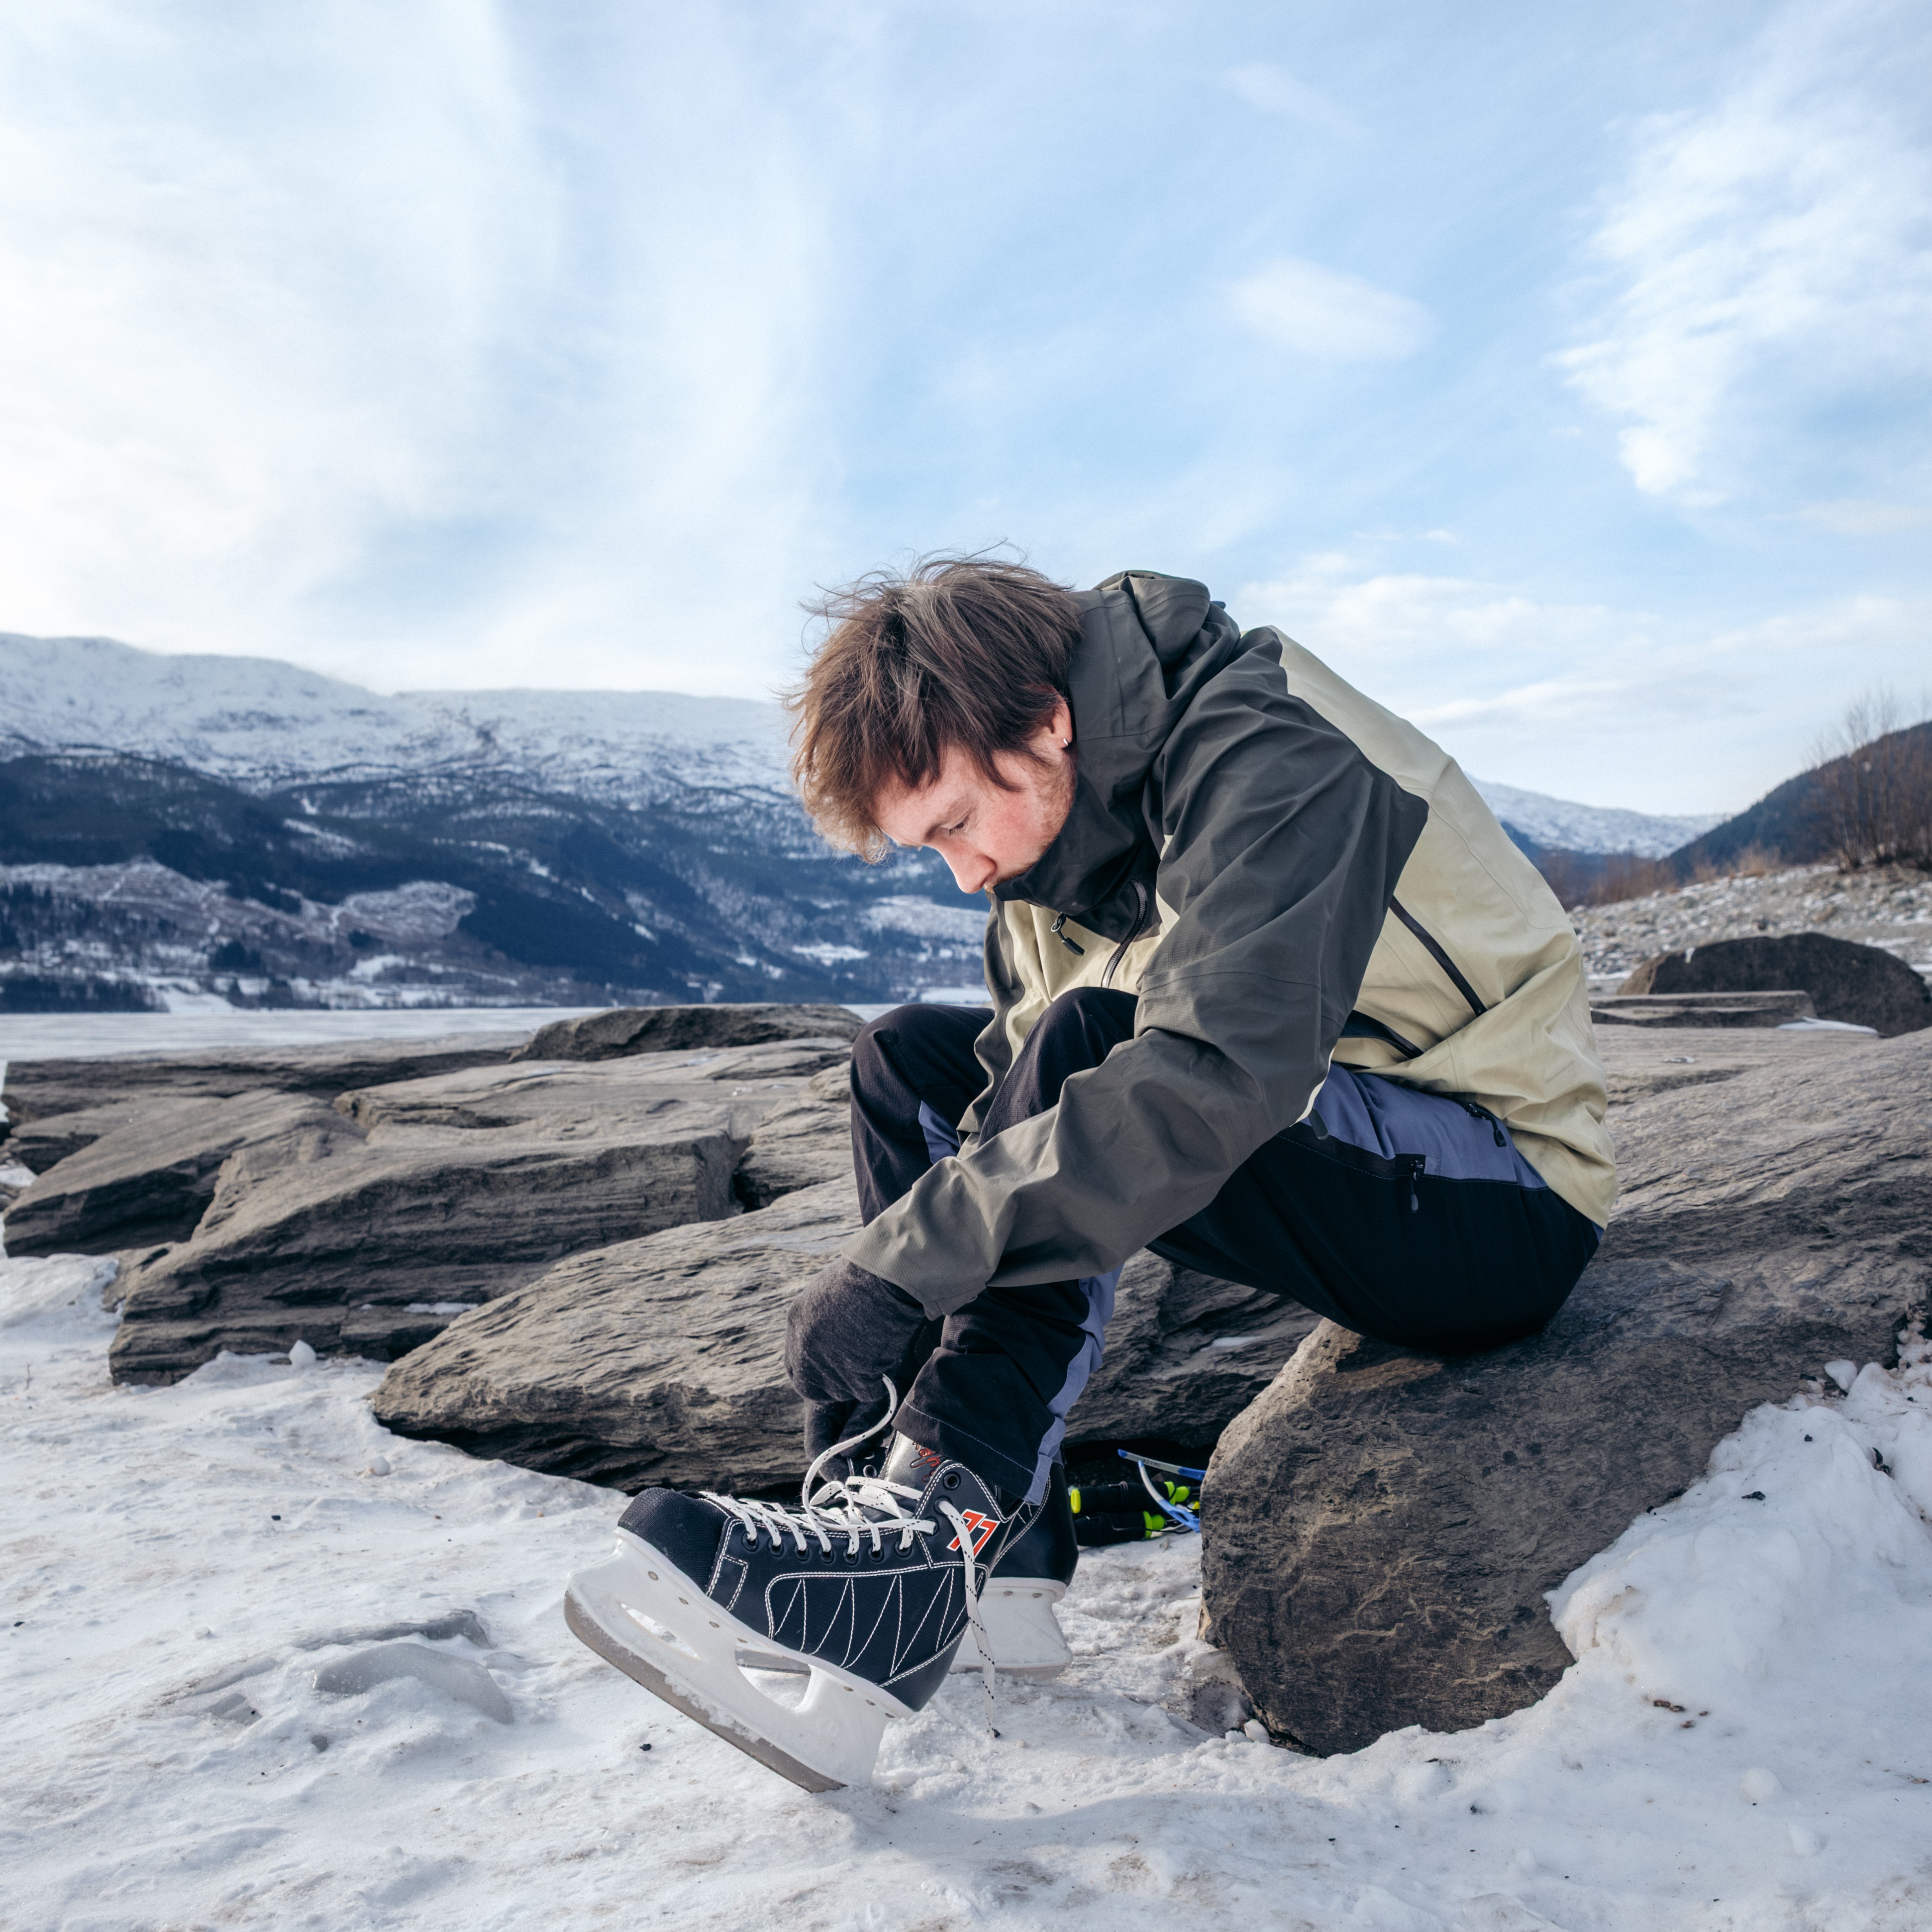
What equipment do you need?
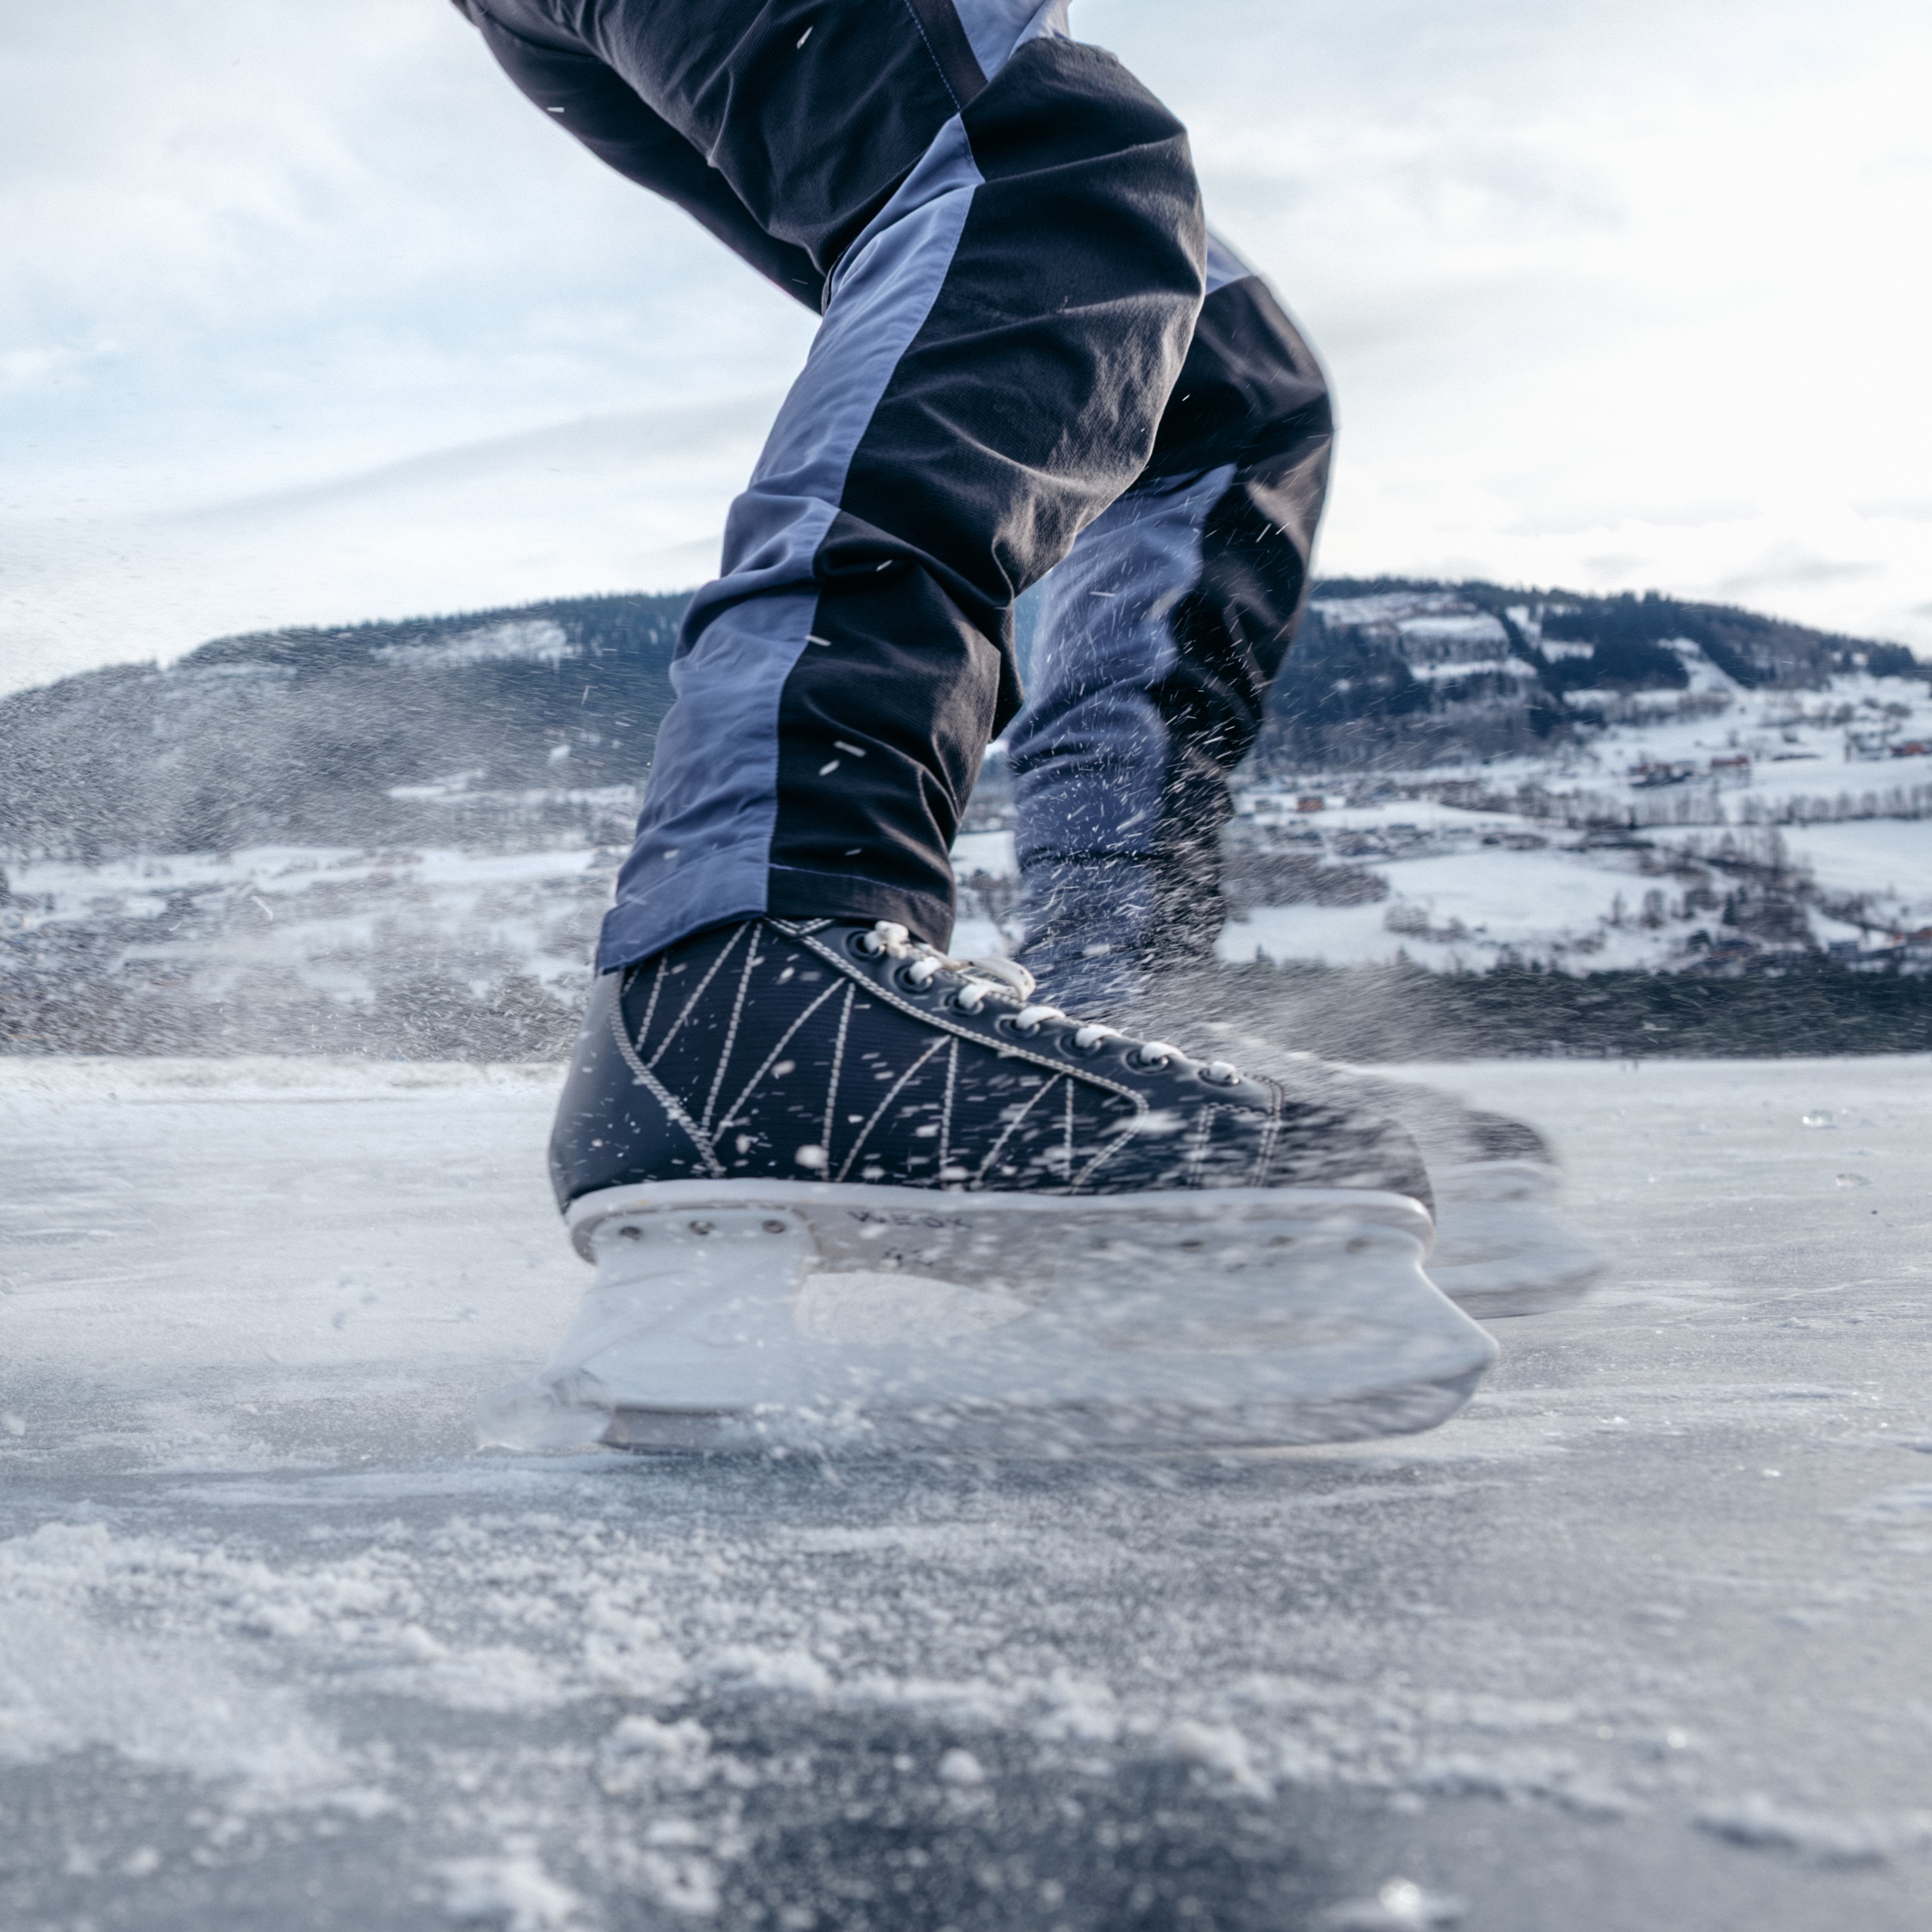
The first thing to consider is what type of skates you need. Hockey and figure skates are playful and better for games and quick turns. Tour skates are better for longer distances and skating trips. There are several options, including skates that attach to ski boots or strap-on skates that can be fastened to regular hiking boots.
It’s often possible to rent or borrow skates from local providers, so it can be wise to try different types before purchasing your own.
Equipment Checklist
Skates
Rental skates are available at Outdoor Norway.
Ice picks
(worn around your neck, not stored in your backpack)
Rope or throw line
Waterproof backpack with extra clothing
Ice staff or ice drill
(to test ice thickness, especially important at the start and end of cold periods)
Poles (can help with stability)
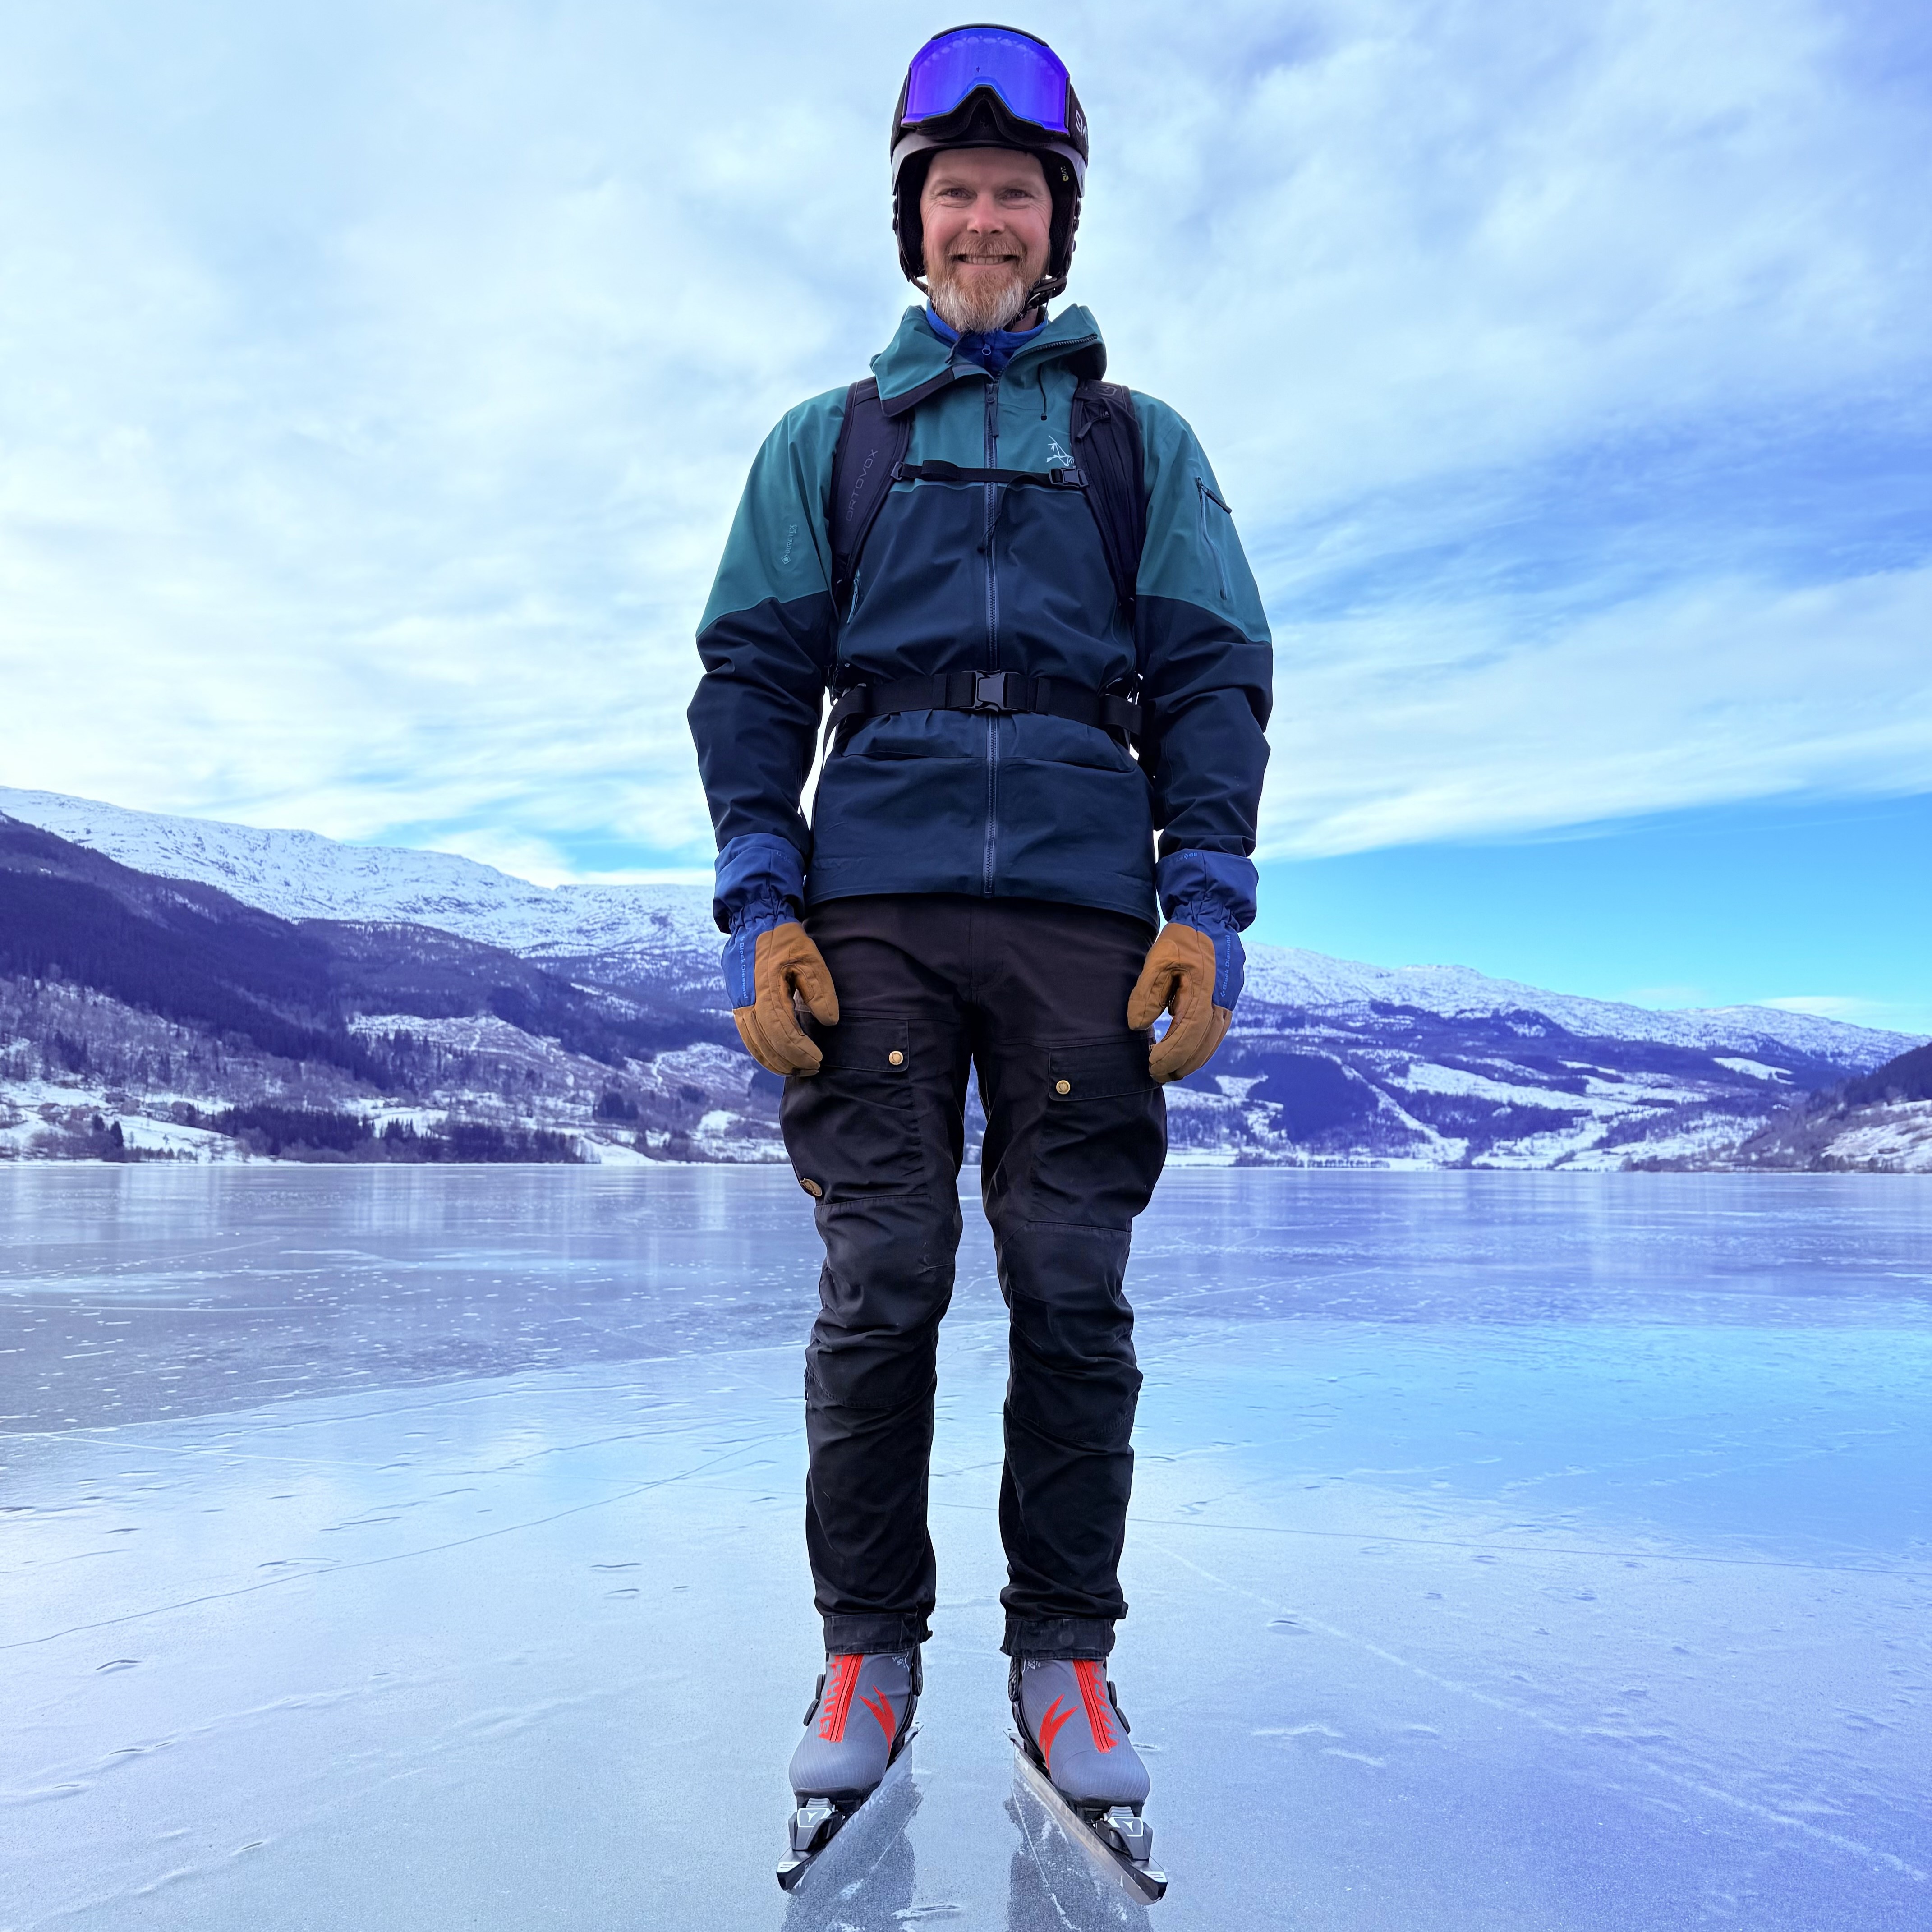
How to dress for a skating trip
To skate, it needs to be cold, so dressing properly is essential. How much clothing you need depends on your activity level and wind conditions, but a good rule is to follow the three-layer principle.
On large lakes, there is no terrain to shield you from the wind. You are therefore more exposed while skating than when skiing in the forest. It’s also important to think wool from head to toe, there is always a risk of going through the ice.
Base layer
Wool that transports moisture away from the body.
Mid layer
An insulating layer that retains warmth. Fleece is often used, but remember that fleece becomes cold if it gets wet.
Outer layer
Windproof and waterproof clothing that protects against the elements. (It can also be smart to wear a padded jacket underneath if it’s very cold or if you’re worried about falling.)
Remember a warm hat, mittens (preferably windproof or with a shell layer), and good wool socks.
Dress so that you can regulate your temperature by adding or removing layers.
Safety
Always make your own assessments before heading out onto the ice. If you’re completely new, check out the “Ice School” at varsom.no (needs to be translated with google translate), or join a guided trip.
As a general rule, there should be at least 10 cm of solid ice, and you must be able to swim.
Safety advice:
Check ice conditions and ice warnings
You can view local observations at Varsom.no, Iskart.no, and in the Varsom Regobs app (in Norwegian).
Avoid outlets, rivers, and current zones
These areas are known to have weaker ice. Smaller inlets and outlets can be difficult to spot, so study maps beforehand.
Ice picks and throw line
Ice picks are useless in your backpack, keep them easily accessible around your neck.
Check temperature history
Recent warm periods and/or sun exposure may have weakened the ice or created layers due to surface water.
Extra clothes
Pack spare clothing in a waterproof bag.
Skate with others
It’s both more enjoyable and safer. You can quickly help someone or be helped, if someone falls through the ice.
Read more about ice safety rules here.
(in Norwegian)
Skating locations in Voss
Important: Always make your own safety assessments. These lakes are suggested because they are easy to access and have parking facilities — not because they have been evaluated for ice safety.
Vangsvatnet
Vangen – Hellesneset (approx. 30–40 minutes)
A nice route for those who want some distance without traveling far.
From Voss Hostel to Prestegardsmoen
A gentle start for families and beginners, shorter and usually near other people.
Vetlavatnet
Oppheimsvatnet
How to get started
Olav describes skating a bit like riding a bike. You should expect to fall a few times in the beginning, but most people learn quickly. Wear a thick padded jacket and bring someone to support you if you’re afraid of falling.
Many organizations arrange skating trips, and this can be a great way to start. It becomes both a social experience and an opportunity to learn how to assess ice conditions from someone with more experience.
Korleis komme i gang med skøyting?
Olav beskriv skøyting litt som å sykla. Du må forventa å falla eit par gonger i starten, men dei fleste lærar fort. Ta på deg ei tjukk boblejakke og ta med deg nokon å støtta deg på, om du er redd for å falla.
Det er mange som organiserar turar og dette kan vera ein fin start, då blir det både ei sosial oppleving og du kan læra å gjera vurderingar av isen, av nokon med meir erfaring.